Amazon Simple Storage Service (S3) is renowned for its scalability, durability, and security, making it an excellent choice for hosting static websites. These sites, typically comprising HTML, CSS, and JavaScript files, can be served directly from an S3 bucket, providing a straightforward, budget-friendly hosting solution.
You can access the static website by simply uploading the HTML, CSS, image, and JavaScript files to the S3 bucket. However, S3 offers a specific way to enable a static website beyond just directly accessing the objects. In this article, we will learn how to convert your S3 bucket into a static website.
Prerequisites
Before you proceed, ensure you have the following:
- An active AWS account
- An S3 Bucket created
- Static website files (HTML, CSS, images, or JS)
If you are new to AWS and cloud computing, we recommend you check out these articles on AWS and S3:
- Cloud Computing With AWS: Why It’s Important
- AWS S3 Security Simplified: How To Host Public Files Safely
- Amazon S3: Features, Pricing, And Cost Saving
Enabling Public Access to Your S3 Bucket
Navigate to your S3 bucket.

Click on the “Permissions” tab from inside your bucket.
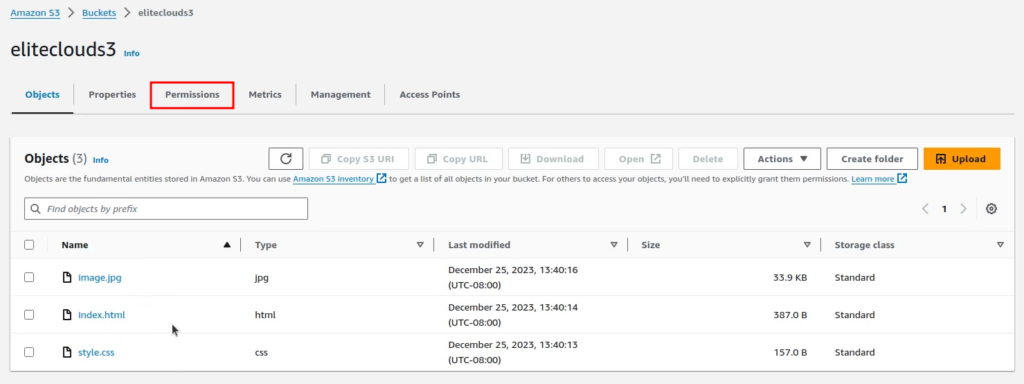
By default, you will see that all public access has been blocked from your S3 Bucket.

To enable public access, click on “Edit.” Uncheck the “Block all public access” option and click on “Save changes.”

You will be asked for confirmation. Write “confirm” and click on the “Confirm” button.

Next, scroll down to the “Bucket Policy” section and click on the “Edit” button.
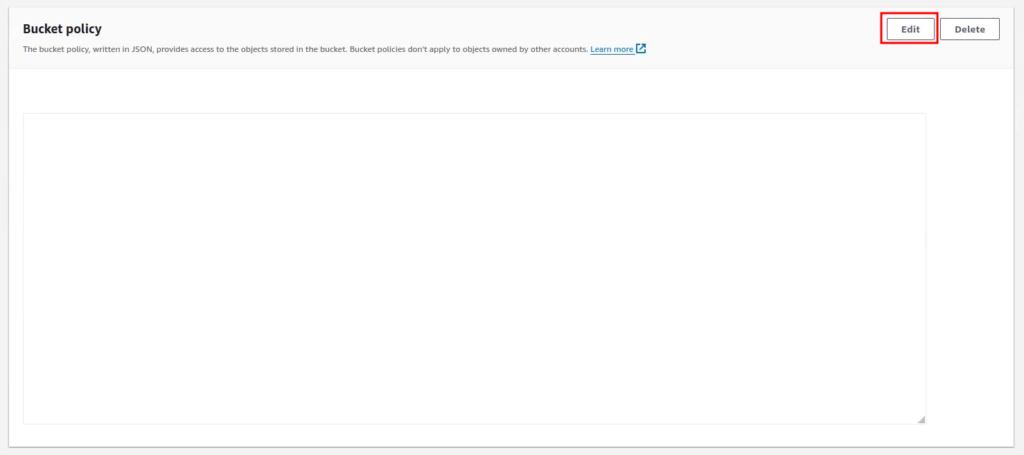
Click on “Policy generator.” This will take you to the AWS Policy Generator webpage.

In step 1, select the policy type as “S3 Bucket Policy.”

Now, in step 2, under “Add Statements,” select the effect “allow,” set the principal to “*,” and in action, select “GetObject.” This will allow others to access files from your S3 bucket.

Head back to your bucket policy page and copy the bucket ARN (Amazon Resource Name).

Paste it into the ARN section on the policy generator page, then add “/*” following it. This ensures the policy affects all objects in the bucket. Now click on “Add Statement.”

This will create the statement. Click on “Generate Policy.”

Copy the contents of the JSON Document.

Go back to the “Edit bucket policy” page and paste the generated bucket policy.
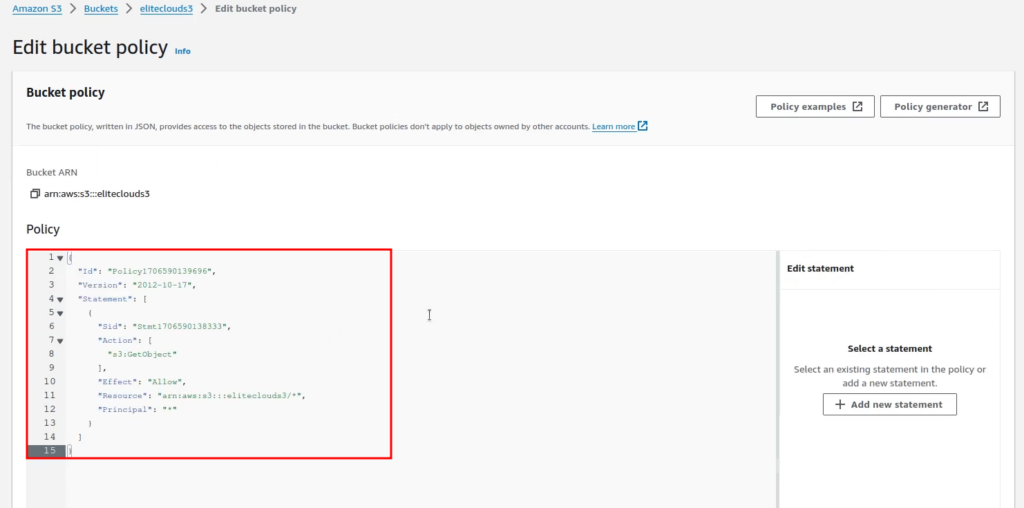
Save the changes to make the S3 bucket public.
Enabling Static Website
Navigate to the “Properties” tab of your bucket.

Scroll down to the bottom, and in the “Static website hosting” section, click on “Edit.”

In static website hosting, click on “Enable.”

Once you click it, more options will appear. In “Hosting type,” select “Host a static website.”

Scroll down and click “Save changes.”
Now check the “Static website hosting” section from the “Properties” tab again. You will see a URL given to you for accessing the S3 bucket’s static website.

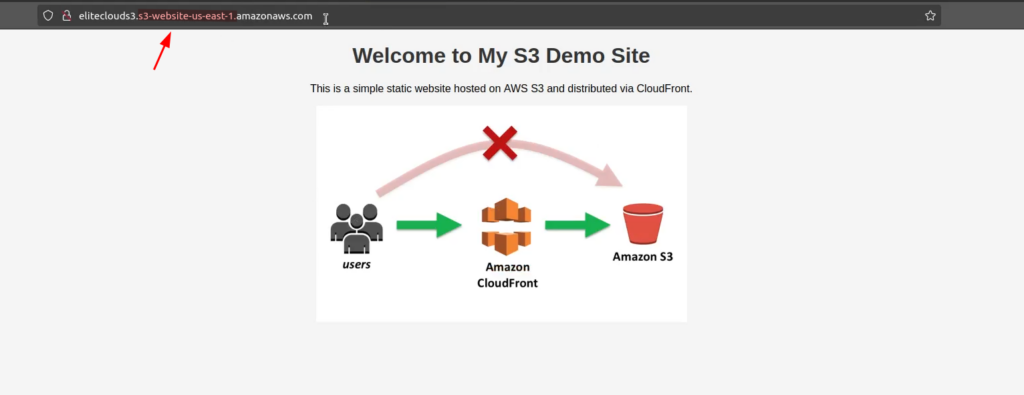
If you’ve followed everything correctly, you should be able to access your S3 bucket static website. Unlike the regular S3 bucket, the file now has a different URL suffix, and you don’t need to use “index.html” or a direct link to the file.
That concludes this article.
Amazon S3 simplifies static website hosting, providing a secure, scalable, and cost-effective platform. By following a few steps to enable public access and configure static website hosting, you can effortlessly make your content accessible online, showcasing the convenience and efficiency of utilizing AWS for your web hosting needs.

